Coconuts are very good for you. They are full vitamins and minerals and a great source to replace electrolytes. Have you ever looked at coconut water? It is like drinking a Gatorade with out the preservatives and sugar! We like to add coconut water to our fruit smoothies instead of juice it taste fabulous.
Coconut flour is very high in fiber! They are a fruit not a grain so they are gluten free and helps digestion. And it doesn't taste like coconut flakes! I HATE THE TASTE OF COCONUT FLAKES! However, I love coconut flour and coconut oil. I love that they are so fantastic for you and don't taste like an almond joy. Did you know that coconut oil is one of a few oils that can handle being heated. Most oils goes rancid when heated and all of their properties change chemically. Coconut oil stays the same chemically therefore it does what you need it to do.
Today I need to make a pie. Does that make you laugh yet? No wheat, no nuts, no dairy, no sugar. Are you laughing yet? I have been determined to find one that will work. A little from here and a little from there. I have a recipe for a coconut pie crust, it comes from "Cooking with Coconut flour" by Dr. Bruce Nife ND.
1/2 cup sifted coconut flour
1/2 cup flaked coconut
2 eggs (duck)
1/2 tablespoon honey
1/4 cup melted butter
1/4 tsp salt
Sift coco flour and set aside. Mix remaining ingredients. Add Coco flour last. Knead together about 1 min. Use waxed paper to roll out the crust. (Feel free to tape down the wax paper so it doesn't move a lot) Roll into a 6 in circle. This crust is VERY fragile. Be careful putting it into the pie dish. You will need to See page 116 of Nife's book if you need help getting this fragile crust in the dish. You can email me for more instruction if you need it too. :)
Of course, I am out of coconut flakes, what to do now? My local grocery store has coconuts. I decided to process a coconut. I want to share with you what you have to do.

Pick out a coconut from your local grocery store. Feel free to shake your coconut to listen for the coconut water to slosh around. That is all I look for when purchasing a coconut. The coconut water can evaporate the older the coconut is. Slosh away to get the fresh coconut.
Step 2:
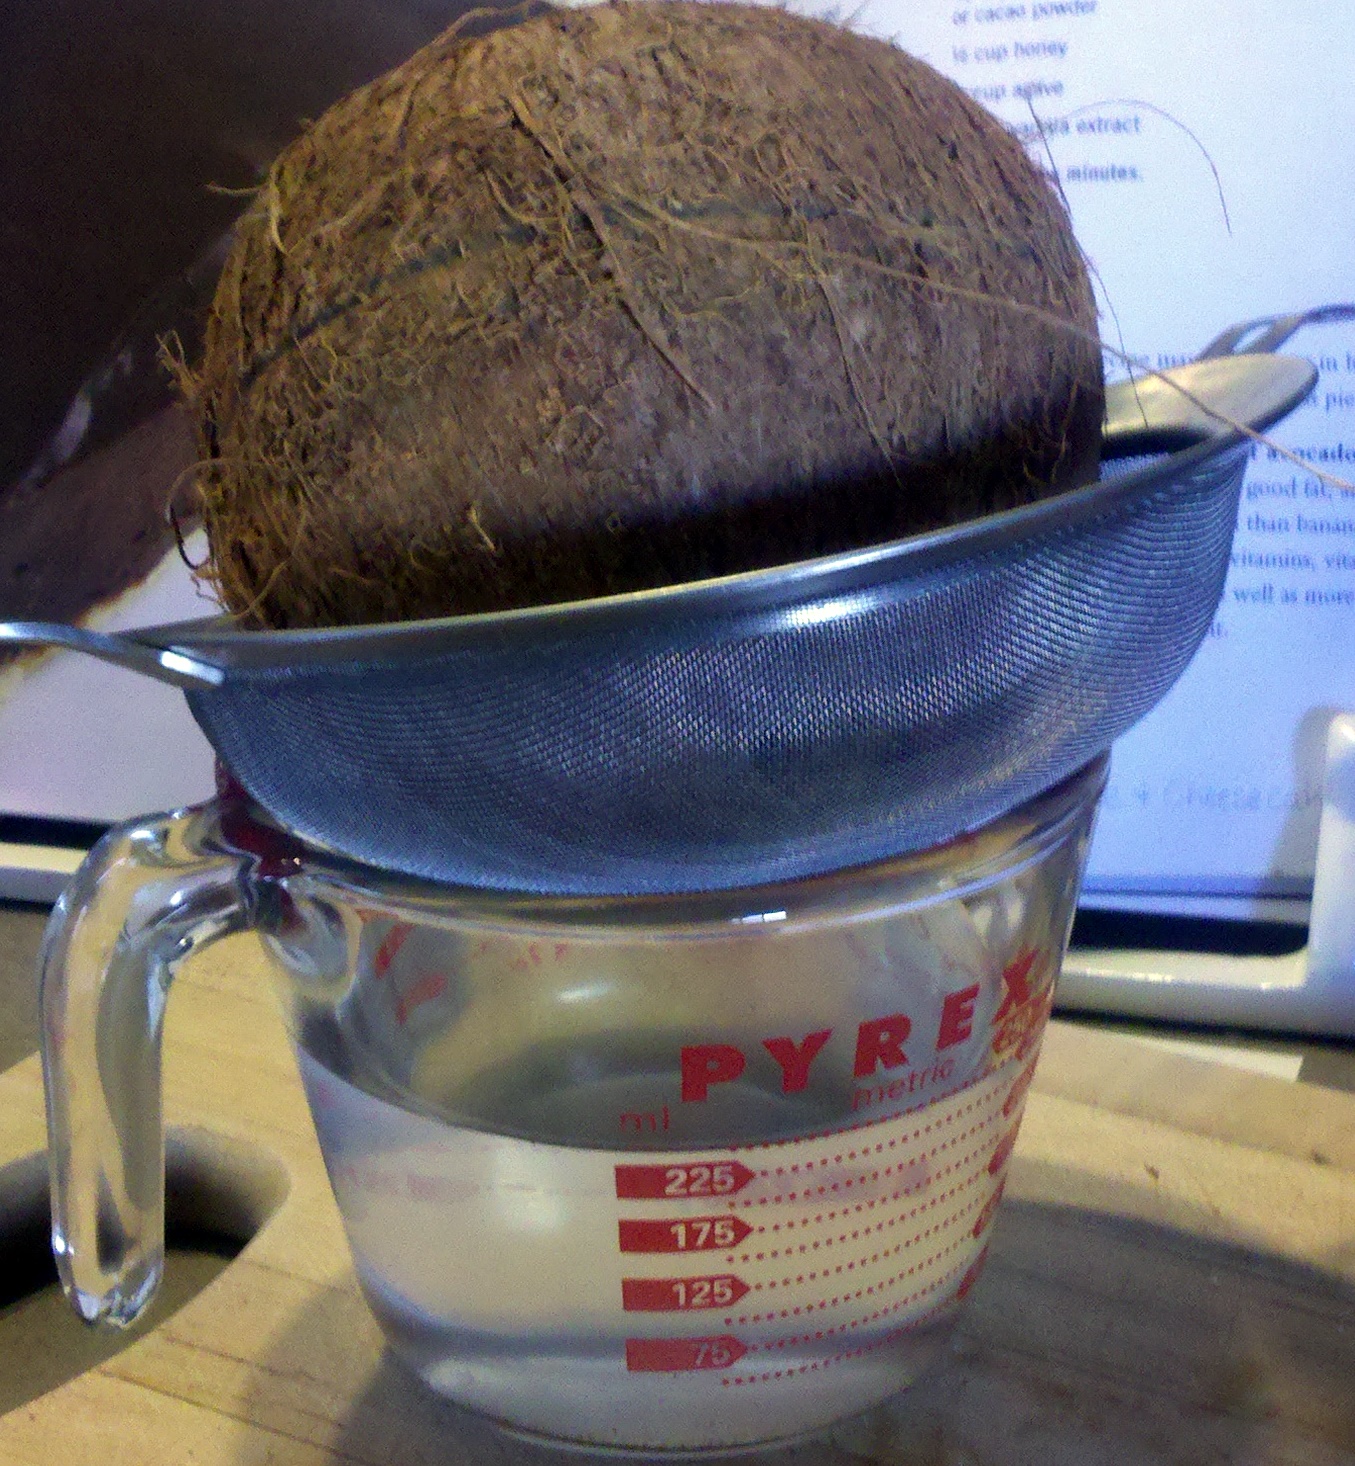
After you have coconut, go get the coconut water out. You can use an ice pick. I like to use my cordless power drill. You need to poke or drill a hole in each of the three brown spots on the coconut. Make the holes big enough so air and coconut water can exchange and escape. Put the coconut holes down into a measuring cup. I like to strain my coconut water while it escapes only because the fibers from the outside can get in the water. Fresh coconuts give lots of water. My coconut gave us 8oz. of water!
Step 3:
Now let's get the coconut meat. Put the coconut on a cookie sheet, place in the oven @ 350 degrees until the coconut splits. It can take anywhere from 10 minutes to 1 hr depending on the coconut. Typically 10-15 minutes. The split does not have to be huge. See below.

Step 4:
Now we get to open the coconut. I take my hot coconut outside in a tea towel and use the cement porch as the pounding block. Leave the coconut in the towel and whack it with a hammer until it breaks open. This one broke open in two pieces. That is not always the case. Keep whacking until you know you can get the meat out of the shell by prying with a knife.

Step 5:
Remove the meat from the shell. I use a paring knife to separate the meat. It comes out with a brown skin which has to be cut off. I shave that skin off with a knife. The skin can be tough and thick which you will have to cut off. The skin could be water like that just needs to be scraped off. It will depend on the coconut. Put all clean white meat in a blender or food processor.

Step 6:
Creating coconut milk. All the white meat should be in a blender. Add 8oz of water to blender and process on high until meat is shredded and the water looks like milk. Pour contents of blender through a tea towel lined stainless steel strainer into a large glass bowl. Let milk separate. Use tea towel to "squeeze" the remaining liquid. I like to squeeze the meat into a ball and twist the towel from the top to release the liquid. The liquid is coconut milk. Put in glass jar and store in the fridge. My coconut gave us 12 oz of coconut milk!

Step 7:
Time to make coconut flour. The coconut meat that is left in the tea towel makes the coconut flour. Put the meat on a baking tray. Bake coconut meat on tray and cook @ 250 degrees until meat begins to "brown". You don't want it to burn. Stir coconut meat so that is dries evenly. When it is dry you have flour! YEAH.
My little coconut made 1 3/4 cups of coconut meat!
If you like a finer flour run through a blender or food processor. (Picture below is uncooked coconut meat.)
I chose to use the coconut meat uncooked in my pie crust! YUM!

That is how you process a coconut. Total time it took for this one coconut was 45minutes. We got 8 oz of coconut water, 12 oz of coconut milk and 1 3/4 cup coconut flour! Not bad! Enjoy your healthy new additives to your pantry.
No comments:
Post a Comment